Friday, September 28, 2007

Epilogue, Lowe's Tool Case Wristwatch Conversion

Upholstering the Padding in the Top

Link to Part 9: Padding the Sides

There was one final detail, not a necessity for full functionality, but to make it look better and improve long-term durability. The large "egg crate" foam pad in the top would eventually start to wear, tear and crumble if not covered. Got another half-yard of the Ultra-Suede fabric and completely covered it today. No real magic to it. A hot-melt glue gun, a little fabric trimming, and wrapping it up like wrapping a box with paper was all it took. Here's the back side, finished, and you can see how the cut edges are folded under to keep them from fraying. You'll also notice a bit of hot-melt glue showing in a couple places. No big deal, this side won't show unless I pull it out of the top.


Here's the "egg crate" foam pad, completely covered, installed in the top.


Finally, the complete box, with watches from different watch boxes placed into their pockets. Note the different colored watch pillows. One of the primary reasons for this mod was to avoid pulling watches off of the pillows on which they're normally stored in several watch boxes, and transferring them to foam pillows in this case. They're all on the pillows they would normally be stored on in their "home" watch boxes. Makes loading up the valise much faster and easier. Makes putting watches back into the watch boxes they're normally kept in much faster as well.


Now I'm FINALLY done . . . it's completely complete!

Part 9, Lowe's Tool Case Wristwatch Conversion

Padding the Sides


This has been a while in completion. Went on vacation for a little over a week and came back to a master bath that needed the vanity, counter top, sink and its plumbing to be ripped out again and completely reinstalled correctly. This included redoing some significant vanity cabinetry with modifications to make it fit properly. The installer who did the work while I was gone botched it completely. That consumed my evenings for over a week.

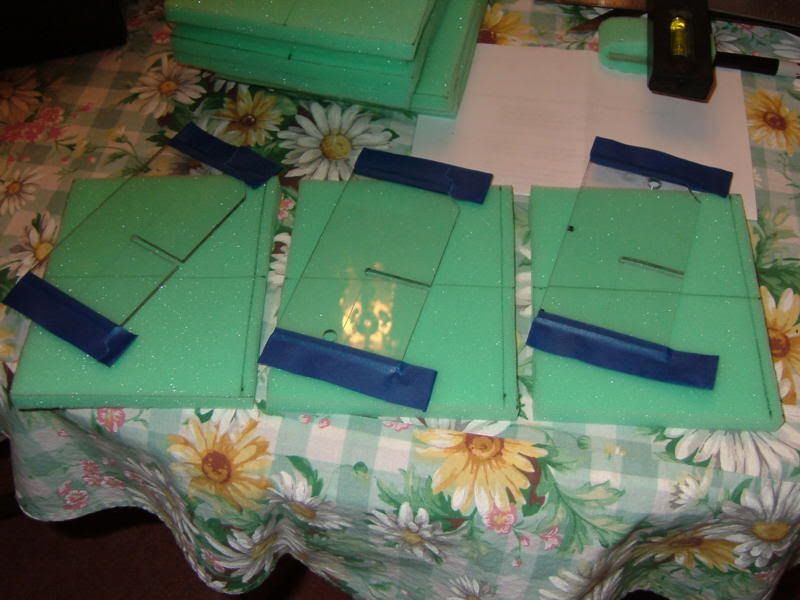
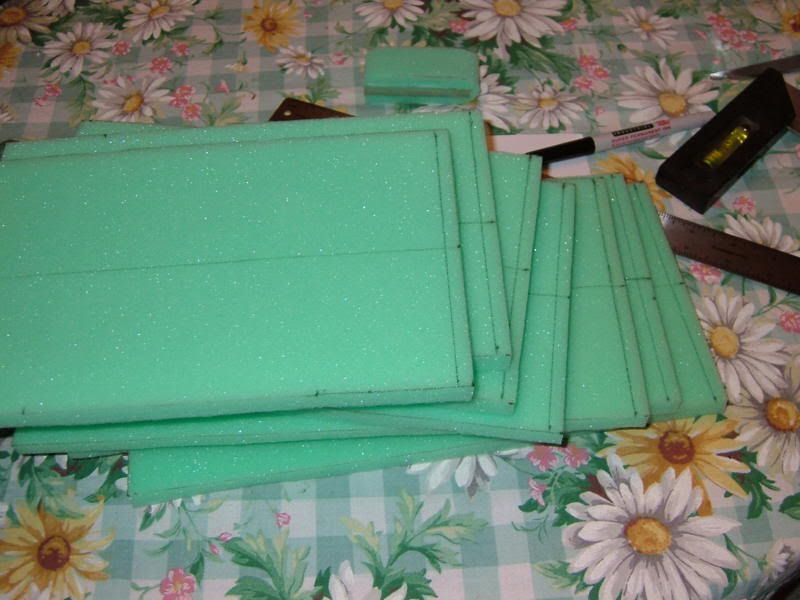
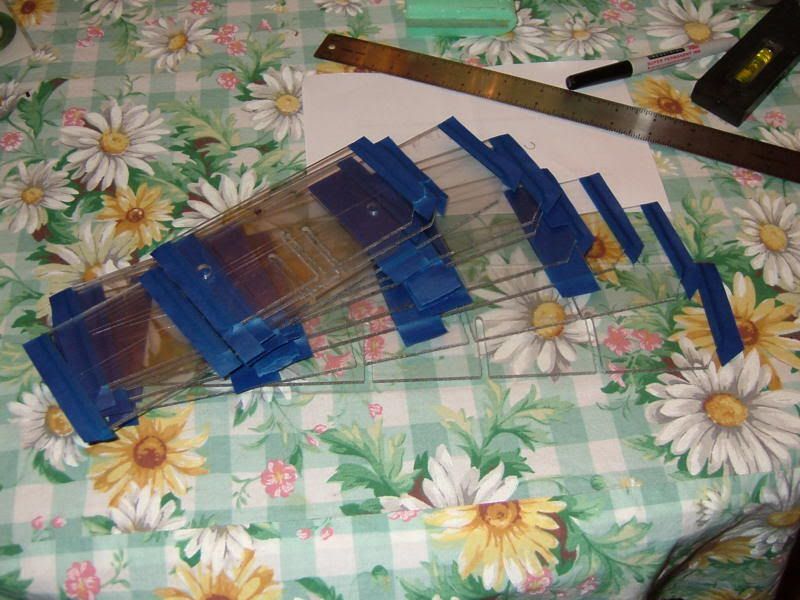
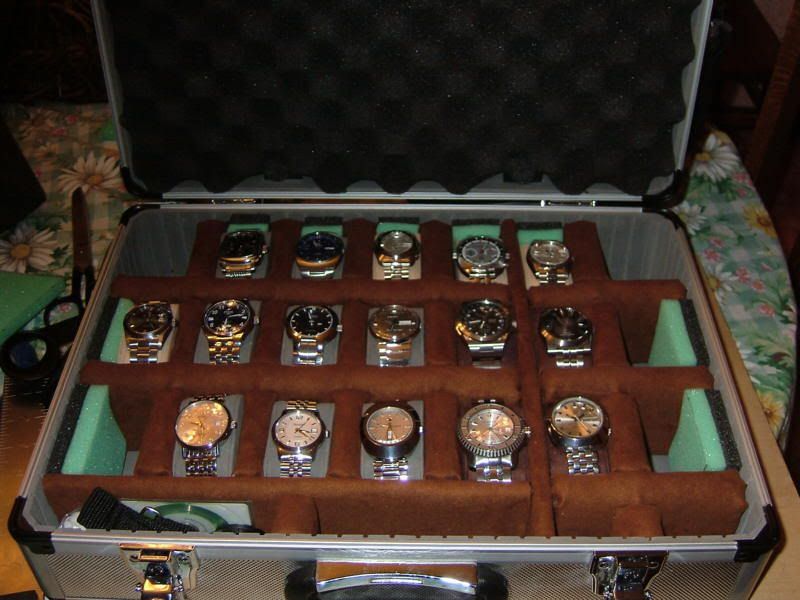
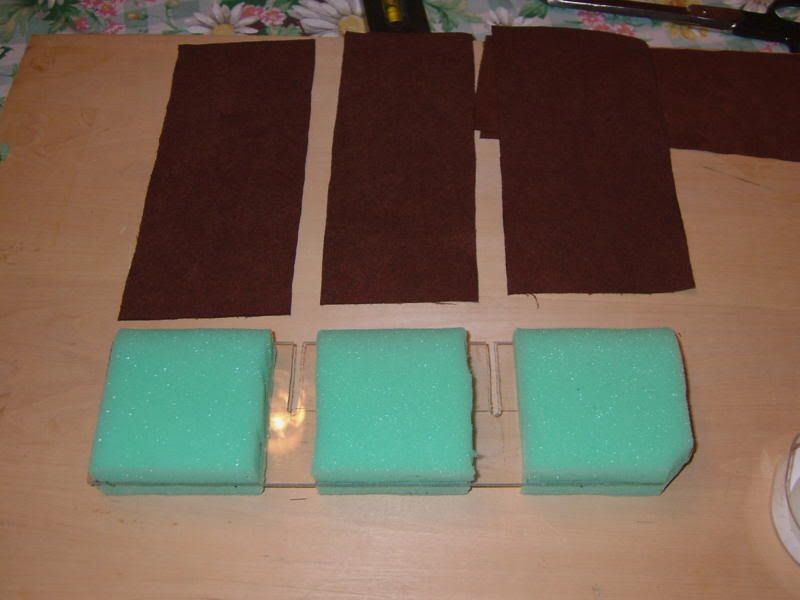
In the last installment, work had progressed sufficiently to make it mostly usable in the center pockets. However, padding around the outside edge, and for the bottoms of all the pockets needed to be made. The larger pads along the left and right sides needed some stiffness, so the medium density green foam was layered with some high density, very stiff (closed cell) foam. Used hot melt glue to layer the foam pieces. Lots of cutting and gluing to layer them together! This shows the outside edge pads nearly complete (without covering). The narrower pads along the back didn't need the additional stiffness, so a single layer of green foam was used for them.


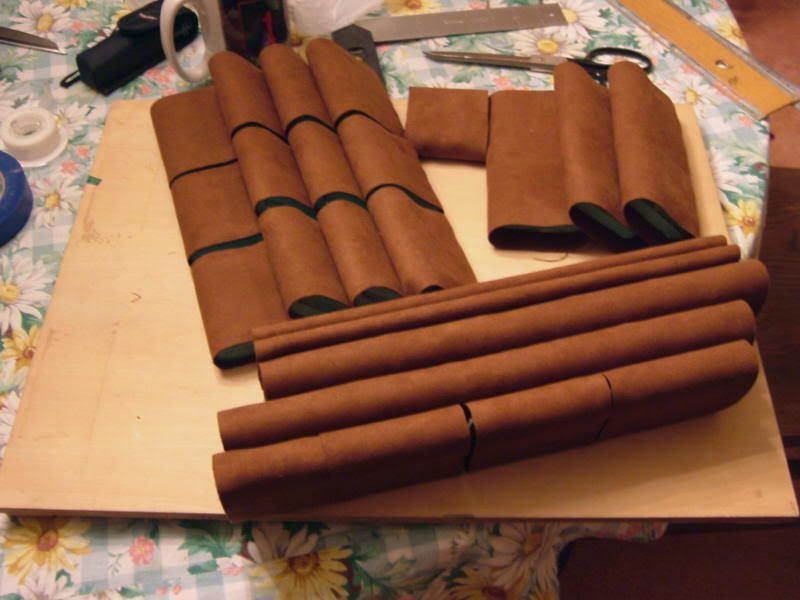
After a lot more fabric cutting, the larger outer edge pads on the right and left sides were covered by rectangles of Ultra-Suede. Since the back sides of them would not show, they didn't need to be completely covered on the back. This shows some of the folding used as they were wrapped. Once again, hot melt adhesive worked quite well.


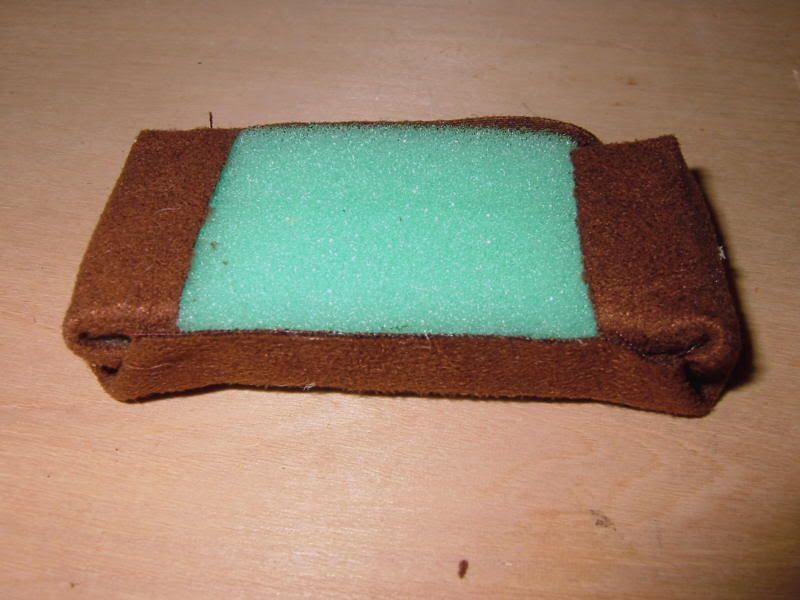
This is what the larger ones look like from the sides that will show when installed . . .


And this is how the fabric was folded around the narrower ones along the back . . .


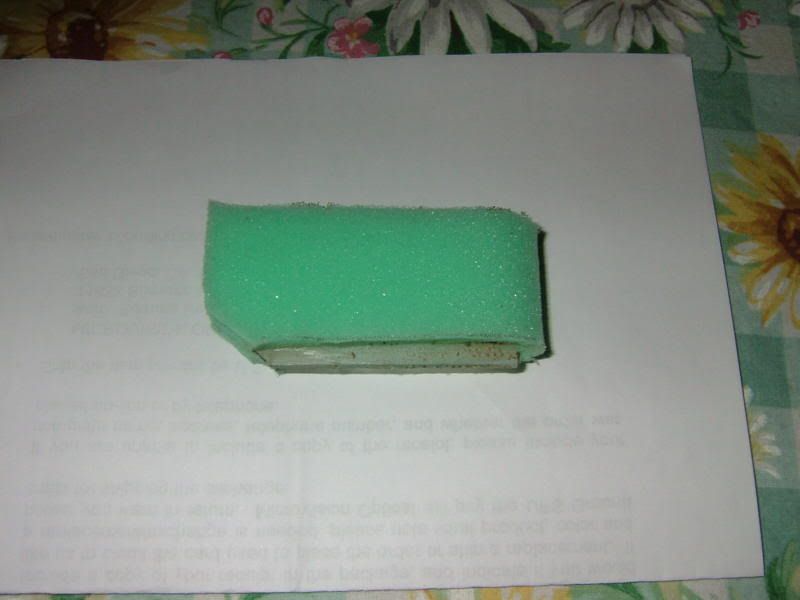
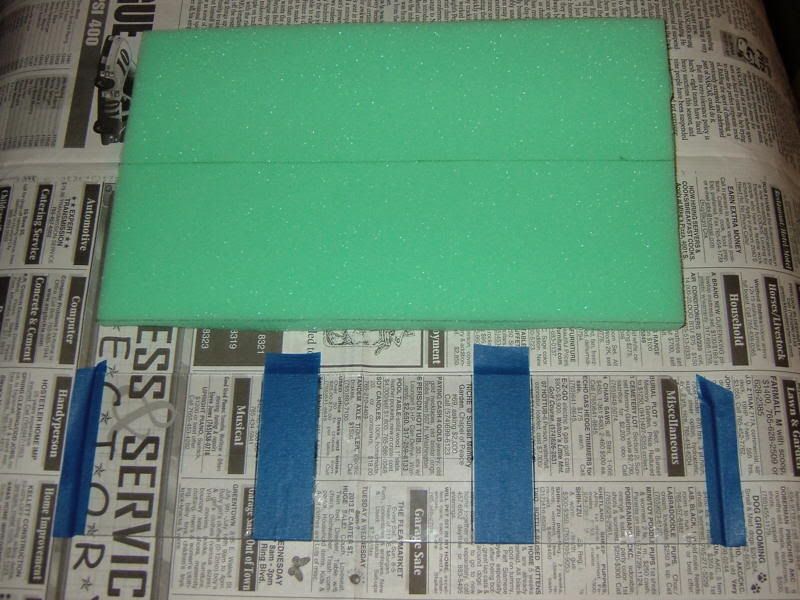
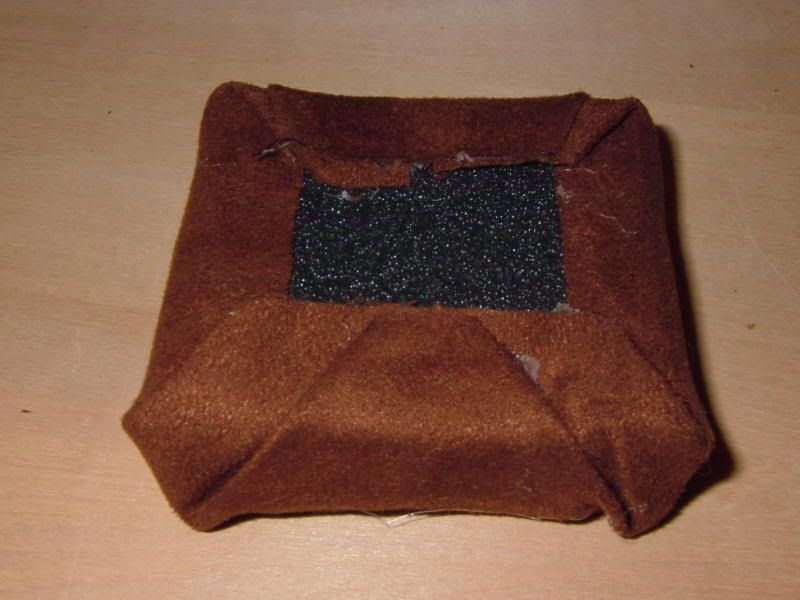
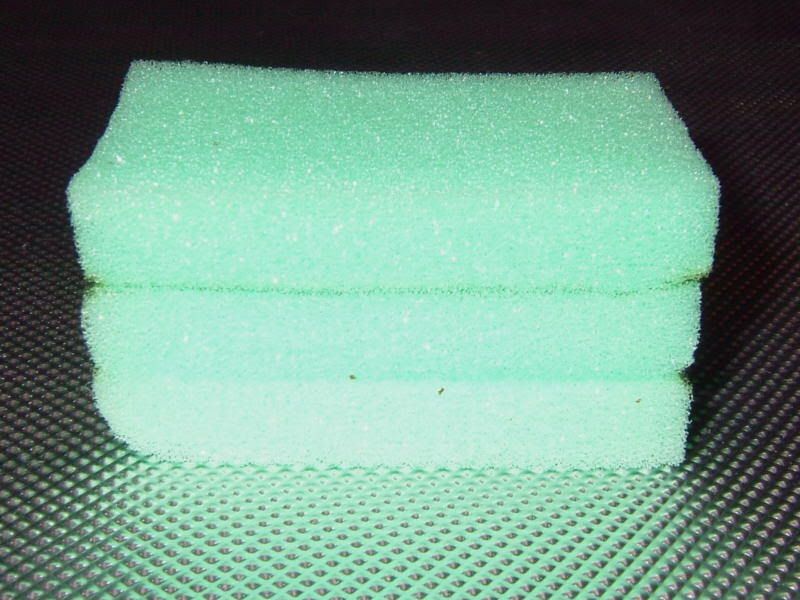
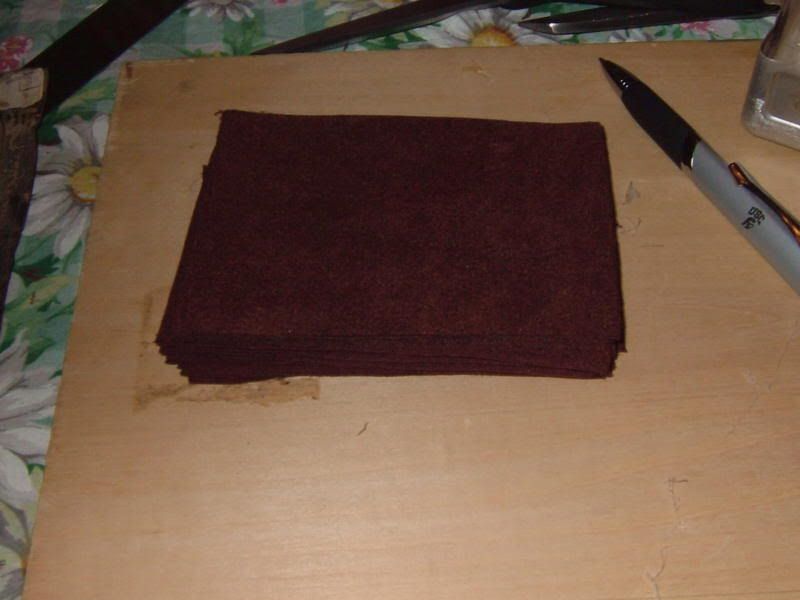
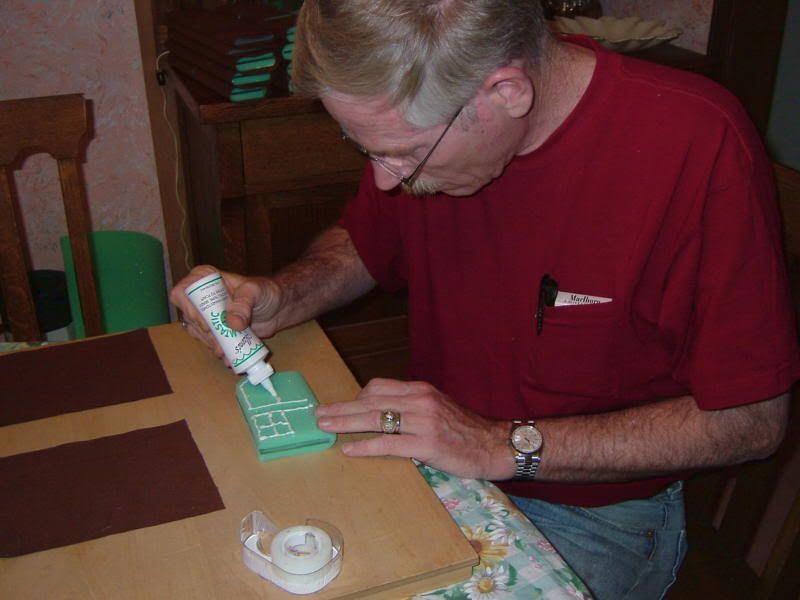
Now to make the padding for the pocket bottoms. The valise is deep; quite a bit deeper than necessary to hold watches. After measuring several watch pillows with watches on them and the depth of the pockets, three layers of medium density green foam should work to pad the bottoms of the pockets. A whole lot more foam cutting later (63 rectangles of foam for 21 pockets), they were layered together using hot-melt glue again. This shows one of the 21 pads for the pocket bottoms layered together. You can see some ink marks on it where the foam was marked for cutting. It was thin enough that I could use a pair of very heavy, long blade scissors designed for cutting aluminum window screen.


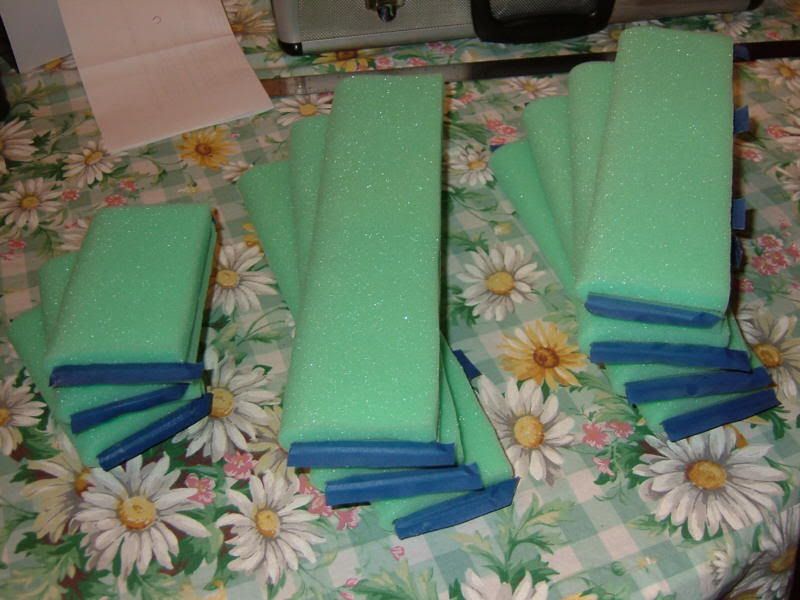
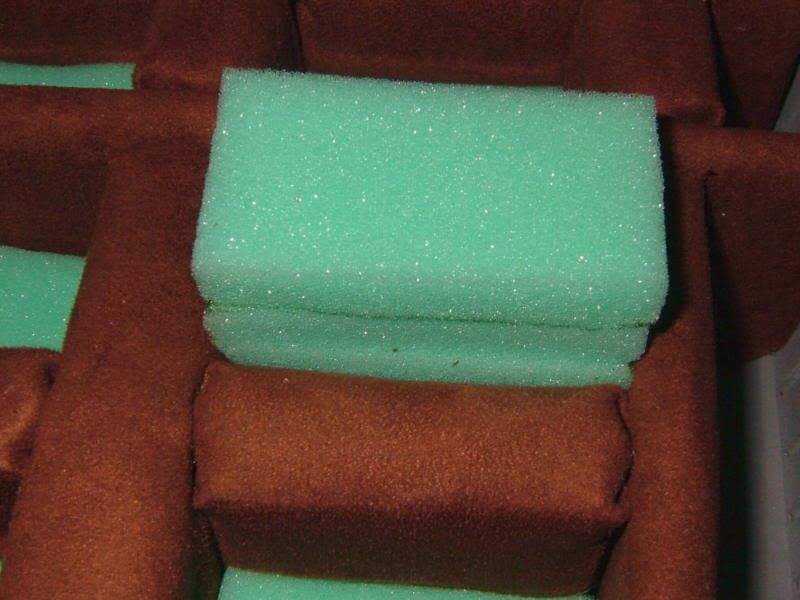
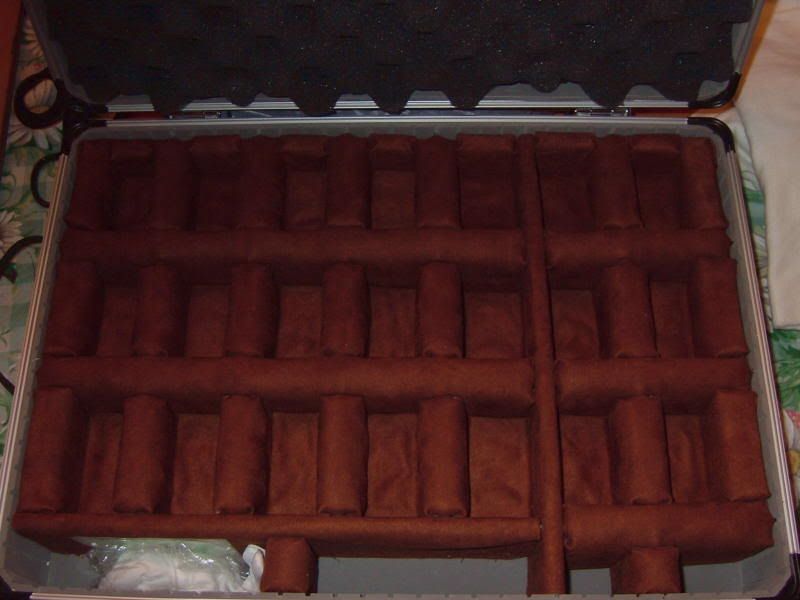
This shows how they will be installed into the pockets and they are intended to be a "friction" fit; just a hair oversize so they stay in place and don't fall out


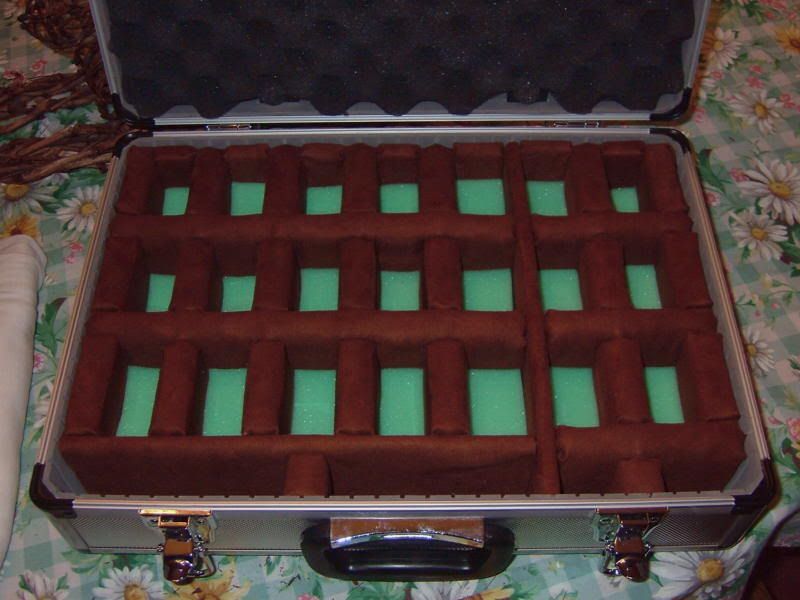
Before covering them with Ultra-Suede, it's a good idea to see if all of them will fit properly!


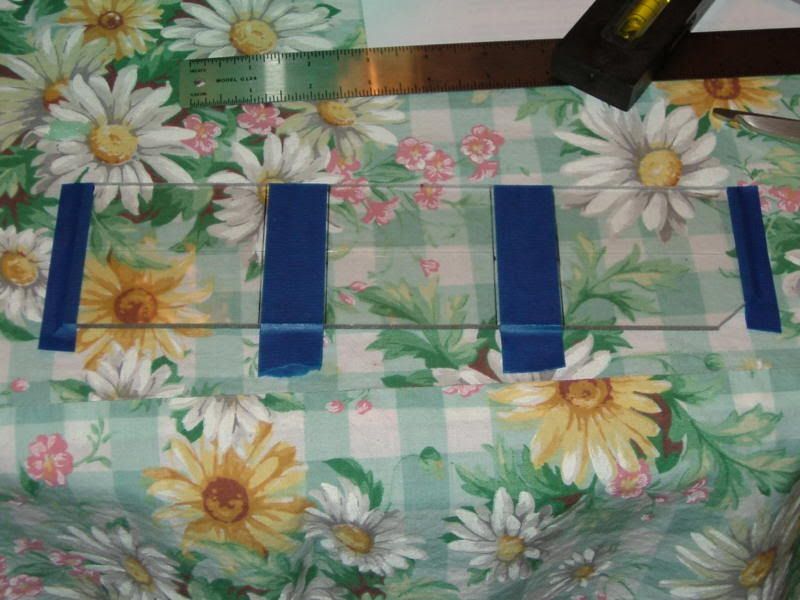
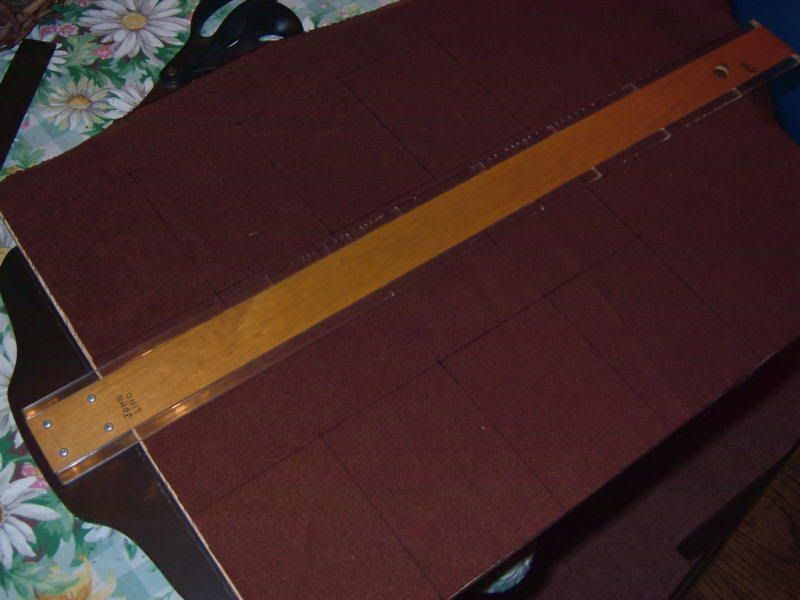
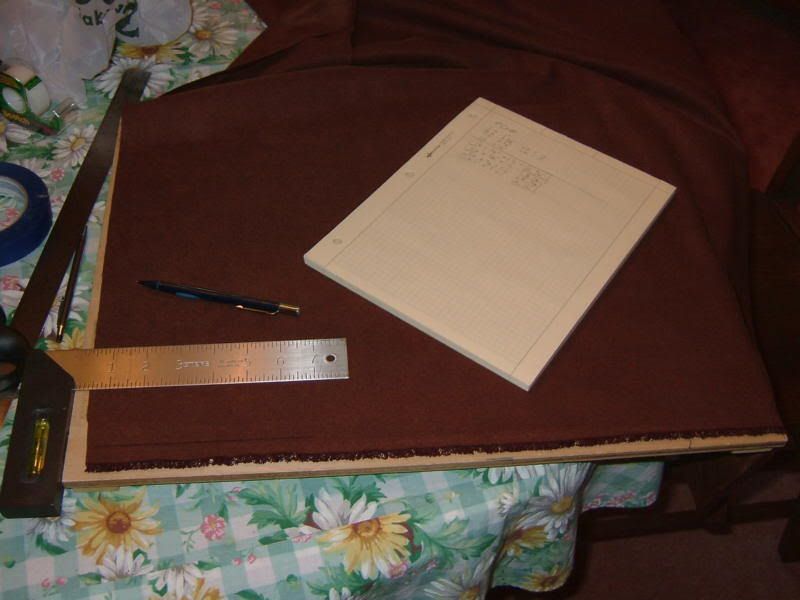
Yet more cutting of rectangles to cover the bottom pads. Used a small, portable drafting table, T-Square and 18 inch steel rule to mark the fabric on its back side for cutting.


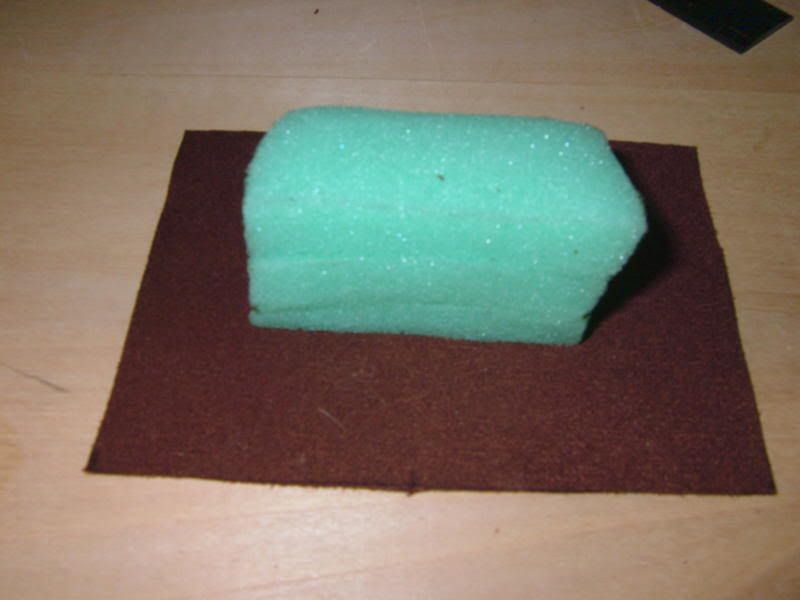
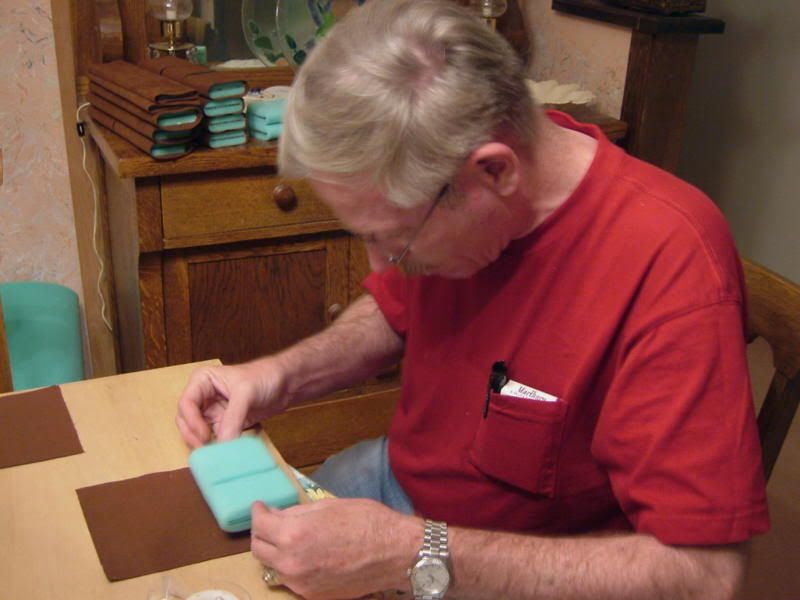
Now to cover the pocket bottom pads. Since the bottoms of them will not show, it isn't necessary to cover that side, just the top and at least half-way down the sides to hold the fabric in place. First step was very lightly gluing the top of the pad to the center of the fabric rectangle . . .


Next step was gluing the fabric onto the short sides of the pad . . .


After that, it was glued to the long sides of the pad . . .


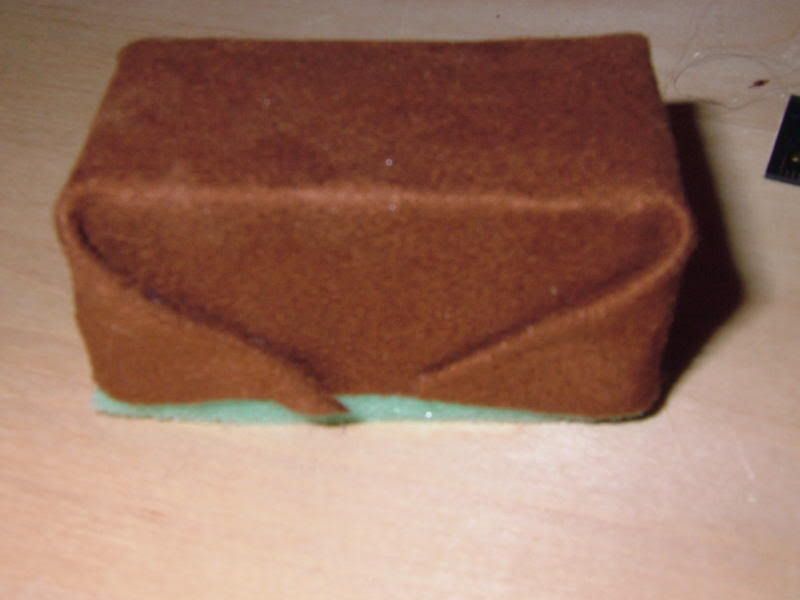
And then the corners folded around the long side and glued down; this shows the first of the 21 pads right side up and its Ultra-Suede covering completed.


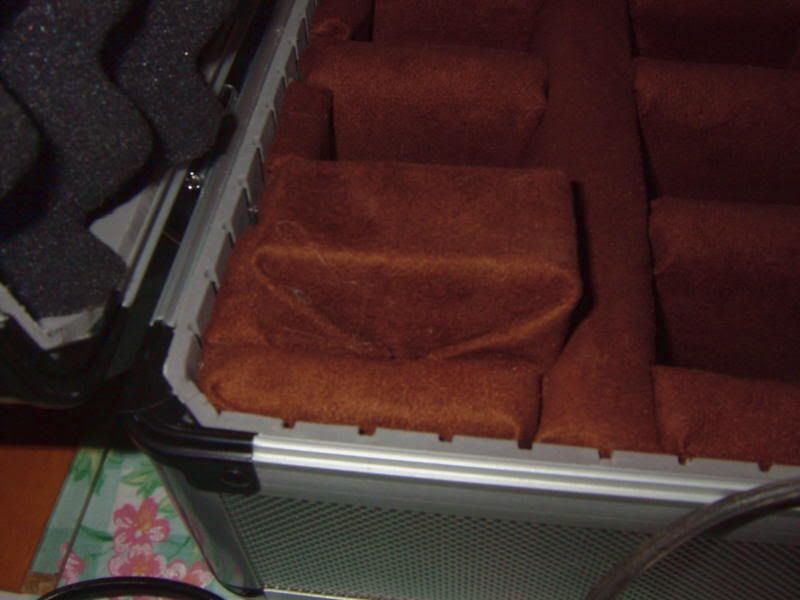
Now to place it into its pocket . . .


And it's installed securely in the pocket bottom . . .


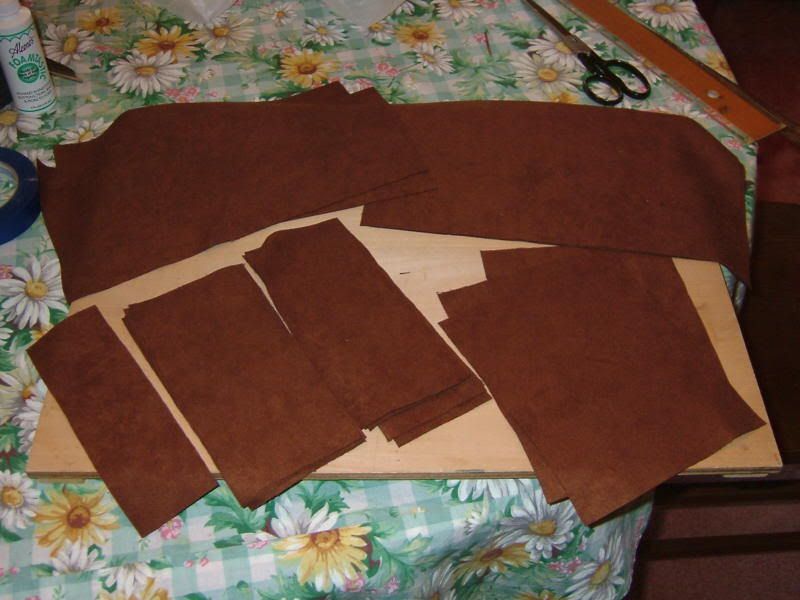
Only 20 more pads to go (the stack of cut fabric rectangles)!


Covering them took a little longer than expected. Had to take a little break about a third of the way through . . . a whole row completed now . . .


And 
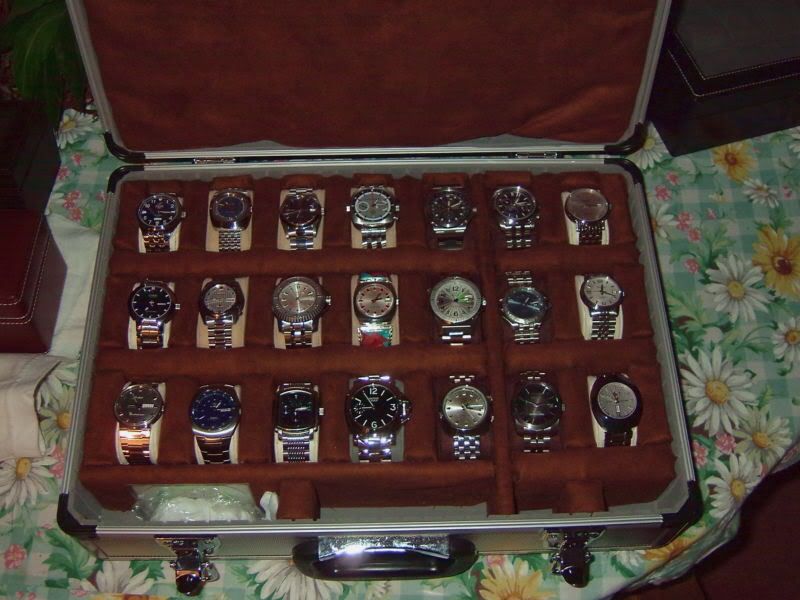
finally they're all covered and in the pocket bottoms. Here it is, with everything finished!


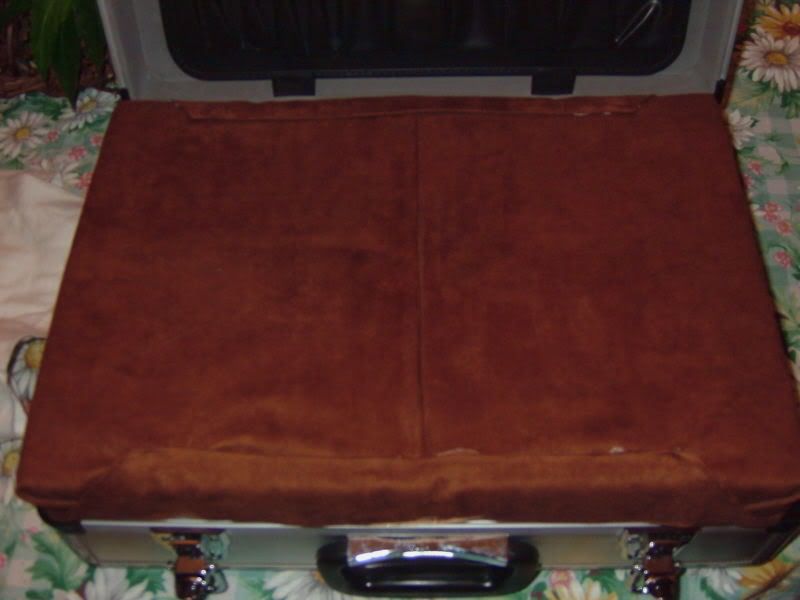
At this point I'm declaring "victory" -- it's done! However, I do have some fabric left over, and will likely use it to cover the large piece of "eggshell" foam that goes in the top. Not an essential task, so I can take a rest from upholstering blocks of foam for a while :) When I do eventually cover it, it will be similar to wrapping a box with paper, and unlike the other small pads around and in the bottoms of the pockets, it will end up covered on all sides. The hot-melt adhesive worked extremely well and allowed working with things nearly immediately after gluing pieces together.

Thursday, September 27, 2007

Part 8, Lowe's Tool Case Wristwatch Conversion


Tonight I got the fabric cut and the major gluing done to attach the fabric to the dividers. Using a small drafting board and a T-Square (not shown) helped immensely in making reasonably precise rectangles of fabric. Before marking and cutting though I needed to establish the dimensions for all the different sizes I'd need Smiley


Took quite a while, but I finally got all the pieces of fabric for the dividers cut.


I then glued them on, working with one divider at a time. This is how I laid out the piece (or pieces for some of them like this one) before applying the glue.


My wife grabbed the camera off of the table and shot this one of me applying glue to the foam Smiley


She took another one as I was positioning the first side of a divider onto the fabric. This was much, much easier than trying to put fabric onto the divider!


It's late, but I'm finally done with all the gluing I can do tonight. It needs to set overnight before I remove the tape. There's more gluing to do on the dividers, as it must be wrapped around the edges of the foam, but don't want to do that until what I've done has set. At this point I'm wondering if I'll be done by Sunday night. I'm going to have to work all day on it tomorrow!


Part 7, Lowe's Tool Case Wristwatch Conversion

Trimming Padding and Fitting Padded Grid Together


Things are starting to come together. Tonight I trimmed the foam on the dividers cutting out what had been masked last night when the foam was glued to the dividers using contact adhesive. A steel rule, square and very, very, very sharp knife (I keep 'em extremely sharp) helps. Foam is still difficult to cut, even with exceptionally sharp knives. It helps to saw slightly on the corner of an edge to get a cut started, and then slice carefully with a shallow cut at first, and repeating the cuts at gradually increasing depth until it cuts through. This is one of the mid-size dividers set up to begin cutting. It is one of the four vertical dividers has the lattice slots in the top which is why the slots are masked an inch wide. I've already removed the 1/8th inch wide masking from the ends, and trimmed off the notched corners that will have to fit along the curved corner in the bottom of the valise along its edge.


This is the same divider with the foam cut back over all its slots on one side and the masking tape peeled up. Next step is flipping it over and repeating on the other side to completely uncover the slot and 1/2 inch of divider on each side of the slot's center-line. Reasonably straight works, and it doesn't have to be "finish" quality cutting as it will not only end up being covered, the cut edge will hidden by foam on the horizontal dividers.


Finally finished all the vertical dividers, and had to stop cutting to do a partial fit-up just to see how they looked Smiley


Using a small square, narrow sections of foam were removed from the horizontal dividers with the slots in the lower half, just a hair wider than the slot in the Plexiglas. Note that I stopped just short of the top of the divider. That foam will show and needs to be there! I started with the short ones first that will end up on the right side of the valise as there is a slight "learning curve" on exactly how to cut the foam away (how wide and how close to the top). Working with one that has only one slot allows testing fit without having to cut several. As with the other dividers, the cut edges will end up hidden when they're all latticed together.


Now, it's on to the longer ones with four slots. This is the last one just after the last slot was cleared of foam. Finally done with the foam cutting on the dividers (and I will need to sharpen the knife before I use it again Smiley).


The horizontal dividers are now all fit into the case latticed into the vertical ones. Is Happy Day! Everything fits, and the cut edges are nearly completely hidden. What very little does show will get concealed when they're covered with Ultra-Suede. A few tricks learned joinery in cabinetry work about how to hide things in the wood joinery to make the finished work look "clean" helped immensely here Laughing out loud!


The final test for this evening, my largest watch, the TISSOT Seastar 1000 again, to see how it fits. Foam has a very high coefficient of friction! Grabs onto everything that tries to slide across it. Fits a little tight, but it fits, and most of that is the friction of the foam. Better than rattling around loosely! Once covered with very smooth and soft Ultra-Suede it should slide in and out of the pocket much more easily.


Enough for one night. Next is covering the dividers. There will be more foam to cut, to go in around the edges, and to raise the bottoms of the pockets, which are too deep. I need to measure how many layers, but my guess is two will do the job. That will all get covered with Ultra-Suede as well.

Part 6, Lowe's Tool Case Wristwatch Conversion

Covering the Dividers with Padding

Link to Part 5: Cutting the Foam Padding

Part 5 ended with using Duro spray adhesive on the smallest divider to test how well it attaches the foam to the dividers. It works quite well! Even when you think you've got it (the right concept) it's still wise to take a small step with one before replicating the rest in the same manner. That proved to be true when trimming foam off the ends of the small "test" piece to expose 1/8th inch of Plexiglas to fit into one of the slots around the side of the case. No problem trimming the foam off, it's what was under it that was the surprise! Kinda gooey. Used a rasp to file most of it off. Messy and time consuming. This very short one will be usable, but I definitely do NOT want to do this with 10 more dividers!


The portions of Plexiglas on which ultimately no foam will be used need to be masked off. Dug out the painter's masking tape (has very light adhesive on it; pulls off easier than generic masking tape), started marking the dividers where the mask edges need to be, and put masking tape over the ends 1/8th inch in. These are the three smaller dividers.


Some of the dividers only need the ends masked; these are the ones with the slots in the bottom half. The ones with slots in the top half need not only the ends masked, but 1 inch straddling the slot as well (the foam is 1/2 inch thick). This will allow the lattice to fit together if the foam is only cleared out over the slots in the others (the ones with slots in the bottom half). You'll see how this works in Part 7.


In addition, the pieces of foam should be shortened by 1/4 inch to leaves 1/8th inch of Plexiglas exposed on each end. Easier to cut it off now with the foam flat than to trim it off later (gee, why didn't I think of that last night; another mystery of The Universe). Out with the marker, square and steel rule to mark the cuts on all the foam pieces.


Finally all the dividers are masked off - seems like it took longer than it should have (and all the foam is trimmed down by 1/4 inch too).


Now to get into another "production mode" gluing the foam to 10 dividers. Set up a small table outside under the covered and screened in porch. Covered it with old newspaper. I'd be in real "Deep Kimchi" with my wife if I started spraying adhesive in the dining room on the dining room table. This is the setup I used to stage the divider and foam to cover one side of the divider and foam together. Note the center line. That helped immensely lining up the divider over the foam.


The easy part was placing the divider on the foam. The tricky part, especially with the longest dividers, was wrapping the foam around to the other side of the dividers. Got it done though, working very carefully on the second step wrapping the foam around each divider. You only get one shot at it with this adhesive! You could get all the foam off the divider, but it would be in very ugly pieces requiring cutting another piece of foam (ugh!).

Is Happy Day! No Do-Overs Is Happy Day! Here are all 10 dividers, now covered with foam. They don't look quite as ugly now that they're covered with foam. Smiley The adhesive needs to cure overnight before pulling the masking tape off and trimming out the slots. That will have to wait until the next day. I've done enough for one night anyway.

Swatch Group ETA Mechanical Movement Alternatives

Filling Swatch Group's ETA Mechanical Movement Void Sellita, Miyota, Soprod, and Ronda In 2002, Nicolas Hayek, then CEO of the Swatch Gr...