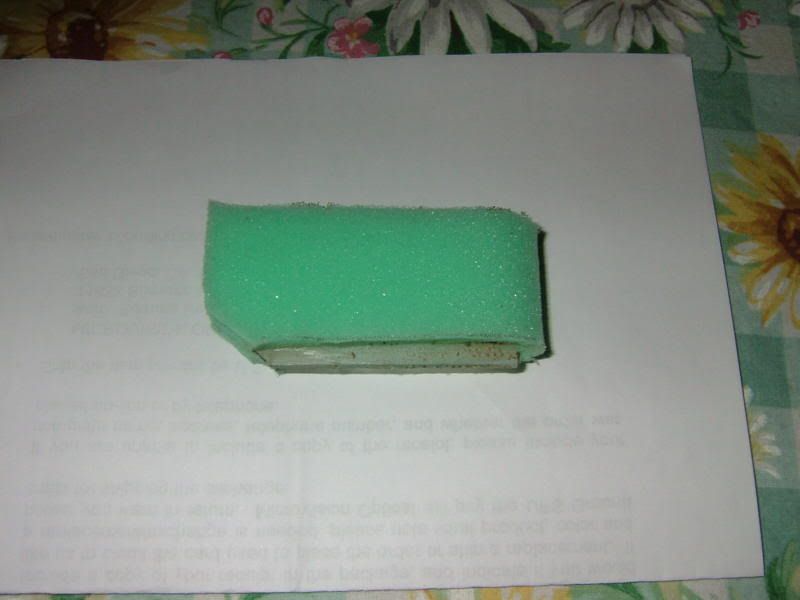
Part 5 ended with using Duro spray adhesive on the smallest divider to test how well it attaches the foam to the dividers. It works quite well! Even when you think you've got it (the right concept) it's still wise to take a small step with one before replicating the rest in the same manner. That proved to be true when trimming foam off the ends of the small "test" piece to expose 1/8th inch of Plexiglas to fit into one of the slots around the side of the case. No problem trimming the foam off, it's what was under it that was the surprise! Kinda gooey. Used a rasp to file most of it off. Messy and time consuming. This very short one will be usable, but I definitely do NOT want to do this with 10 more dividers!
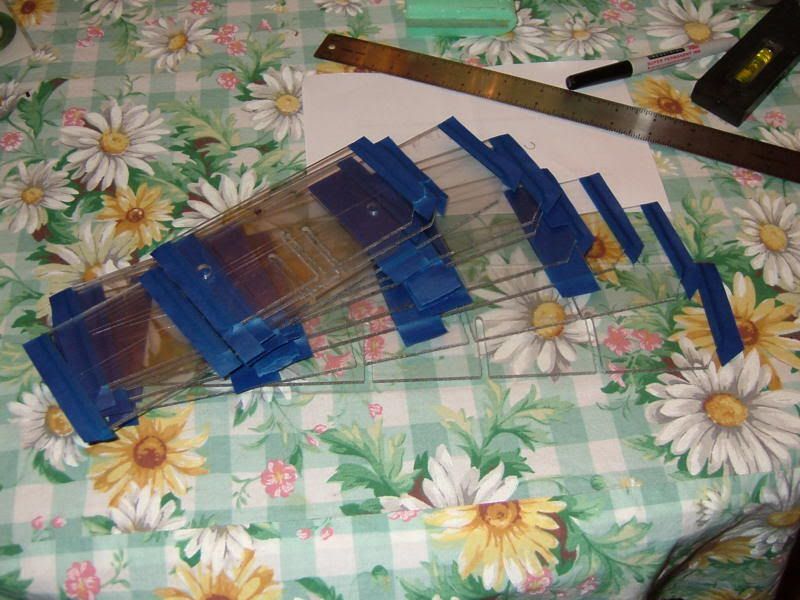
The portions of Plexiglas on which ultimately no foam will be used need to be masked off. Dug out the painter's masking tape (has very light adhesive on it; pulls off easier than generic masking tape), started marking the dividers where the mask edges need to be, and put masking tape over the ends 1/8th inch in. These are the three smaller dividers.
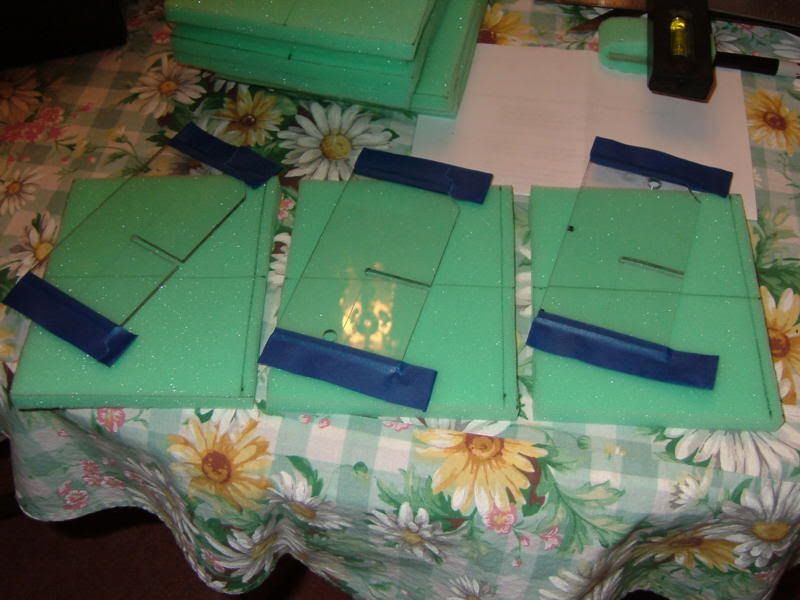
Some of the dividers only need the ends masked; these are the ones with the slots in the bottom half. The ones with slots in the top half need not only the ends masked, but 1 inch straddling the slot as well (the foam is 1/2 inch thick). This will allow the lattice to fit together if the foam is only cleared out over the slots in the others (the ones with slots in the bottom half). You'll see how this works in Part 7.
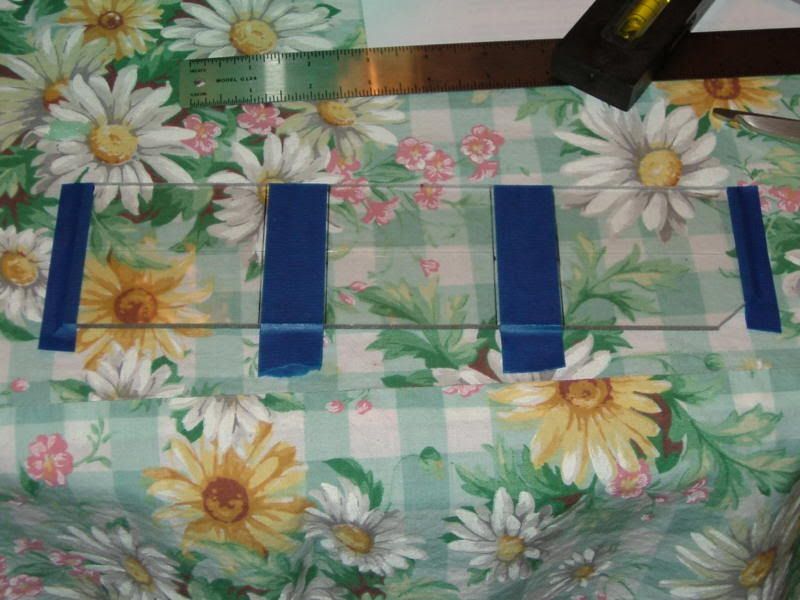
In addition, the pieces of foam should be shortened by 1/4 inch to leaves 1/8th inch of Plexiglas exposed on each end. Easier to cut it off now with the foam flat than to trim it off later (gee, why didn't I think of that last night; another mystery of The Universe). Out with the marker, square and steel rule to mark the cuts on all the foam pieces.
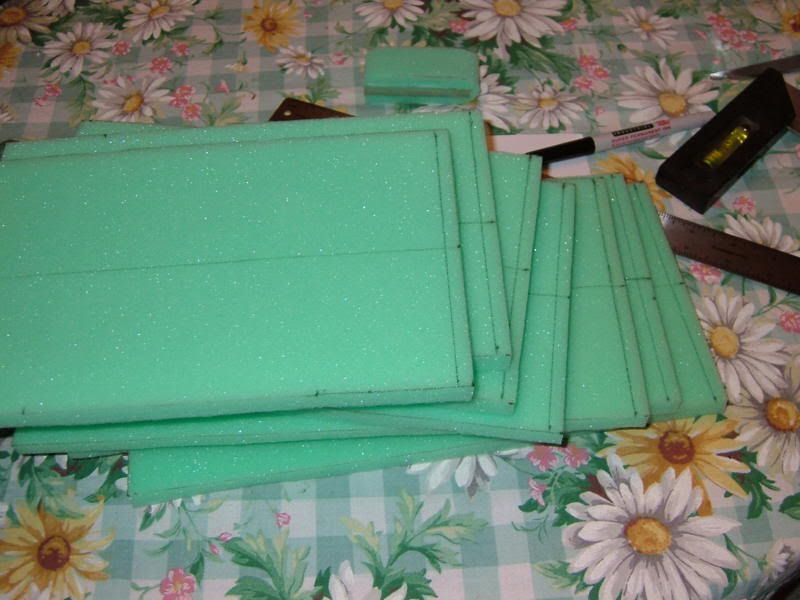
Finally all the dividers are masked off - seems like it took longer than it should have (and all the foam is trimmed down by 1/4 inch too).
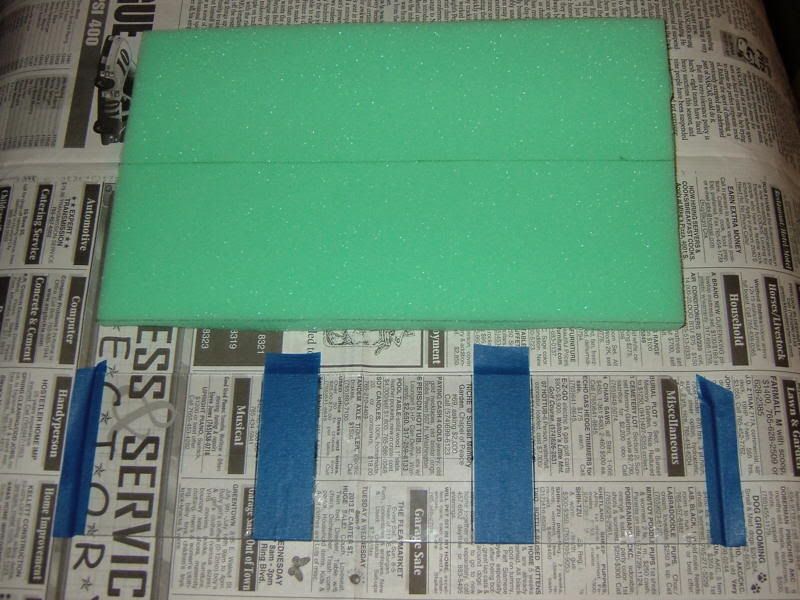
Now to get into another "production mode" gluing the foam to 10 dividers. Set up a small table outside under the covered and screened in porch. Covered it with old newspaper. I'd be in real "Deep Kimchi" with my wife if I started spraying adhesive in the dining room on the dining room table. This is the setup I used to stage the divider and foam to cover one side of the divider and foam together. Note the center line. That helped immensely lining up the divider over the foam.
The easy part was placing the divider on the foam. The tricky part, especially with the longest dividers, was wrapping the foam around to the other side of the dividers. Got it done though, working very carefully on the second step wrapping the foam around each divider. You only get one shot at it with this adhesive! You could get all the foam off the divider, but it would be in very ugly pieces requiring cutting another piece of foam (ugh!).
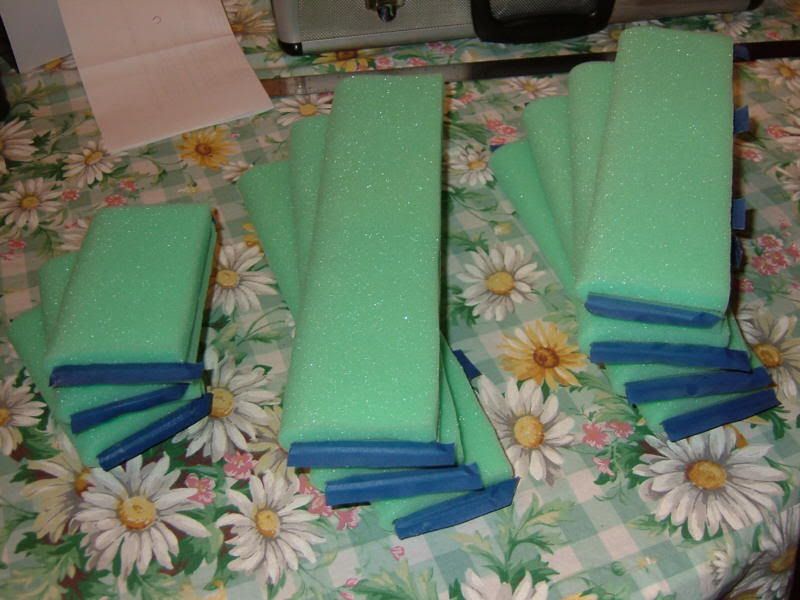
 No Do-Overs Here are all 10 dividers, now covered with foam. They don't look quite as ugly now that they're covered with foam.
  The adhesive needs to cure overnight before pulling the masking tape off and trimming out the slots. That will have to wait until the next day. I've done enough for one night anyway.


No comments:
Post a Comment
Note: Only a member of this blog may post a comment.